

 As described in the OpenGraph Overview, extensions that include an extension definition schema enrich collector-generated to produce structured graphs. Structured graphs enable enhanced features in BloodHound, such as pathfinding, findings, and metrics.
Extensions that do not include an extension definition schema produce generic graphs.
SpecterOps has developed several extensions that follow this model, including:
GitHub
Visualize and analyze your GitHub configurations in BloodHound.
Jamf
Visualize and analyze your Jamf configurations in BloodHound.
Okta
Visualize and analyze your Okta configurations in BloodHound.
SCIM
Visualize SCIM-provisioned users and groups as nodes in BloodHound.
Only users with the Administrator role can upload and delete extension definition schemas. Non-administrator users can view installed extensions, findings, and edges.
Before you begin
Complete the following steps before installing an extension or uploading structured graph data:Only users with the Administrator role can manage extensions.
1
Confirm OpenGraph Extension Management availability
The OpenGraph Extension Management feature must be enabled before you can manage extensions.Enable this feature on the Administration > Early Access Features page.
Support for extension-defined Findings in BloodHound Enterprise is a SpecterOps-managed feature. If it is not enabled in your environment, contact your account team for assistance.
2
Get extension artifacts
How you obtain extensions and collectors depends on your BloodHound edition and how they are distributed:
- BloodHound Community: Users can download and use publicly available community-built extensions and collectors from GitHub repositories.
-
BloodHound Enterprise: Customers can also use publicly available extensions and collectors, but they may also acquire official SpecterOps-provided extensions. Official extensions include detailed findings and remediation guidance.
Contact your account team for availability.
3
Review prerequisites
After you obtain an extension and collector, review the prerequisites in the extension-specific setup documentation.For OpenHound-based collectors (GitHub, Jamf, and Okta), review edition-specific deployment information (Enterprise or Community) and the collector-specific documentation for details on permissions, platform API configuration, and deployment options.
Workflow
The workflow for generic and structured OpenGraph data is largely the same. The main difference is that structured graphs require an Administrator to install the extension during initial setup. After that, users with read access can view installed extensions and use the resulting structured graph data, while only Administrators can upload or delete extension definition schemas. See User Role Definitions for a full breakdown of permissions.For OpenHound collectors (GitHub, Jamf, and Okta), upload behavior depends on both deployment model and BloodHound edition. Only BloodHound Enterprise can accept payloads directly through the API. BloodHound Community requires manual file upload.
Initial setup
The following diagram provides a high-level overview of the recommended workflow to prepare BloodHound for producing structured graphs from OpenGraph extensions. The initial setup workflow is not strictly linear and not all steps are required. For example, importing Saved Queries and creating extension-specific Privilege Zone rules are optional.For generic graphs, the workflow is minimal: users may optionally import Saved Queries (if any). Installing an extension definition schema and updating Privilege Zone rules is not required.
Operational cycle
After initial setup, the following diagrams illustrate the recurring cycle of operations to keep extension data current. For OpenHound collectors, upload behavior depends on edition and runtime model: Enterprise can ingest through the API (often automatic when using a collector client), while Community requires manual file upload from locally run collector executables. The following diagrams illustrate the OpenHound workflow for both Enterprise and Community editions. BloodHound Enterprise (containerized) BloodHound Community (CLI)Install an extension
Installing an extension involves uploading the extension definition schema to BloodHound, which validates the schema and makes it available for use with compatible data payloads.Only users with the Administrator role can upload and delete extension definition schemas.
1
Open the OpenGraph Management page
In the left menu, click Administration > OpenGraph Management.
2
Upload the extension definition schema
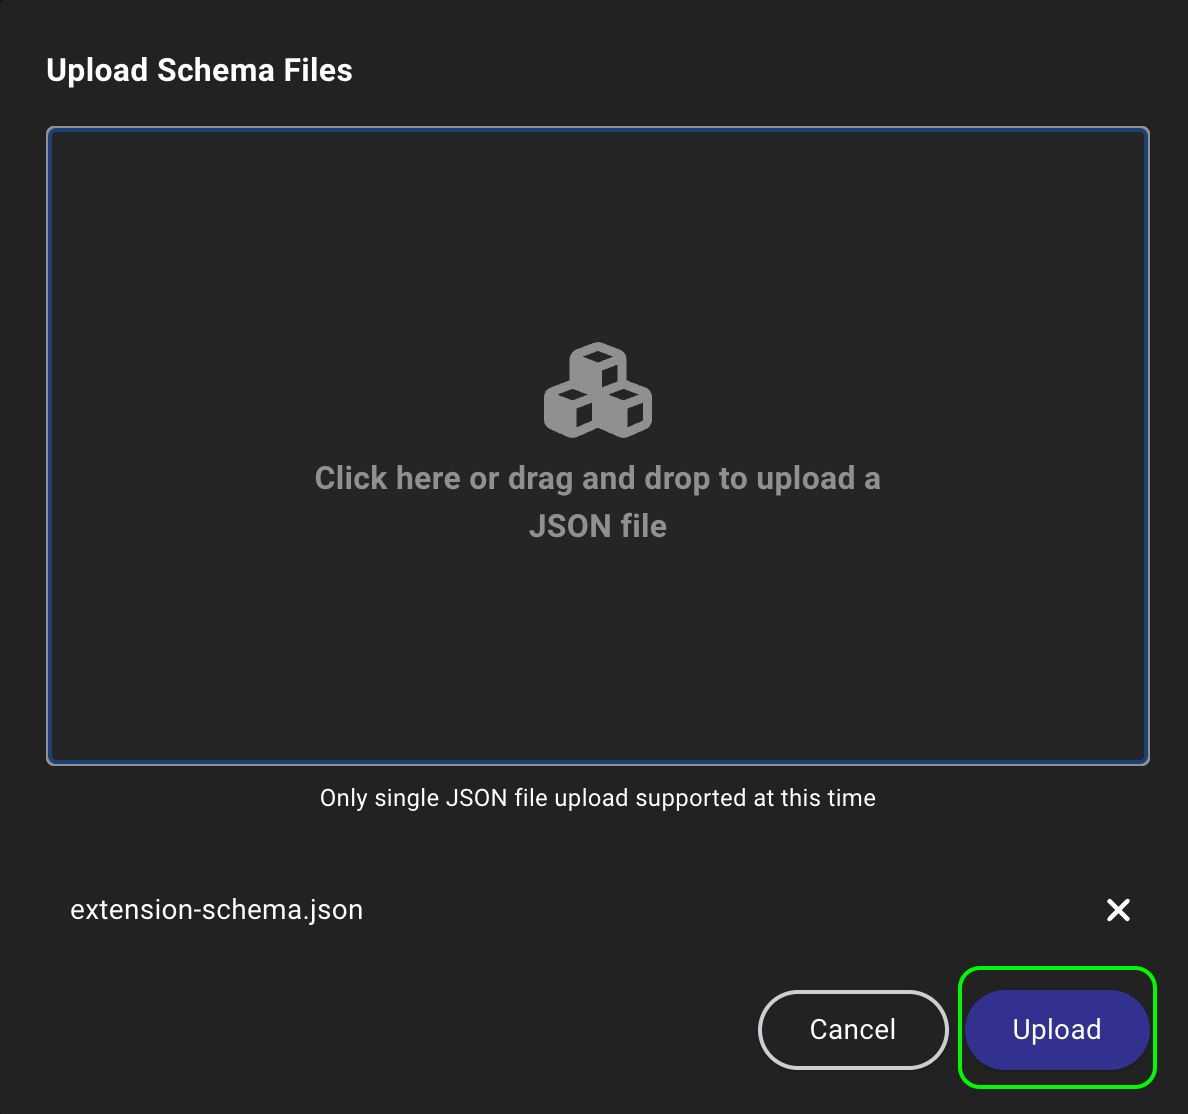
- Click Upload File to open a file system dialog or drag and drop an extension definition schema file onto the canvas.
-
Click Upload to begin the schema installation and validation process.
3
Confirm installation
Confirm the extension appears in the list of active extensions.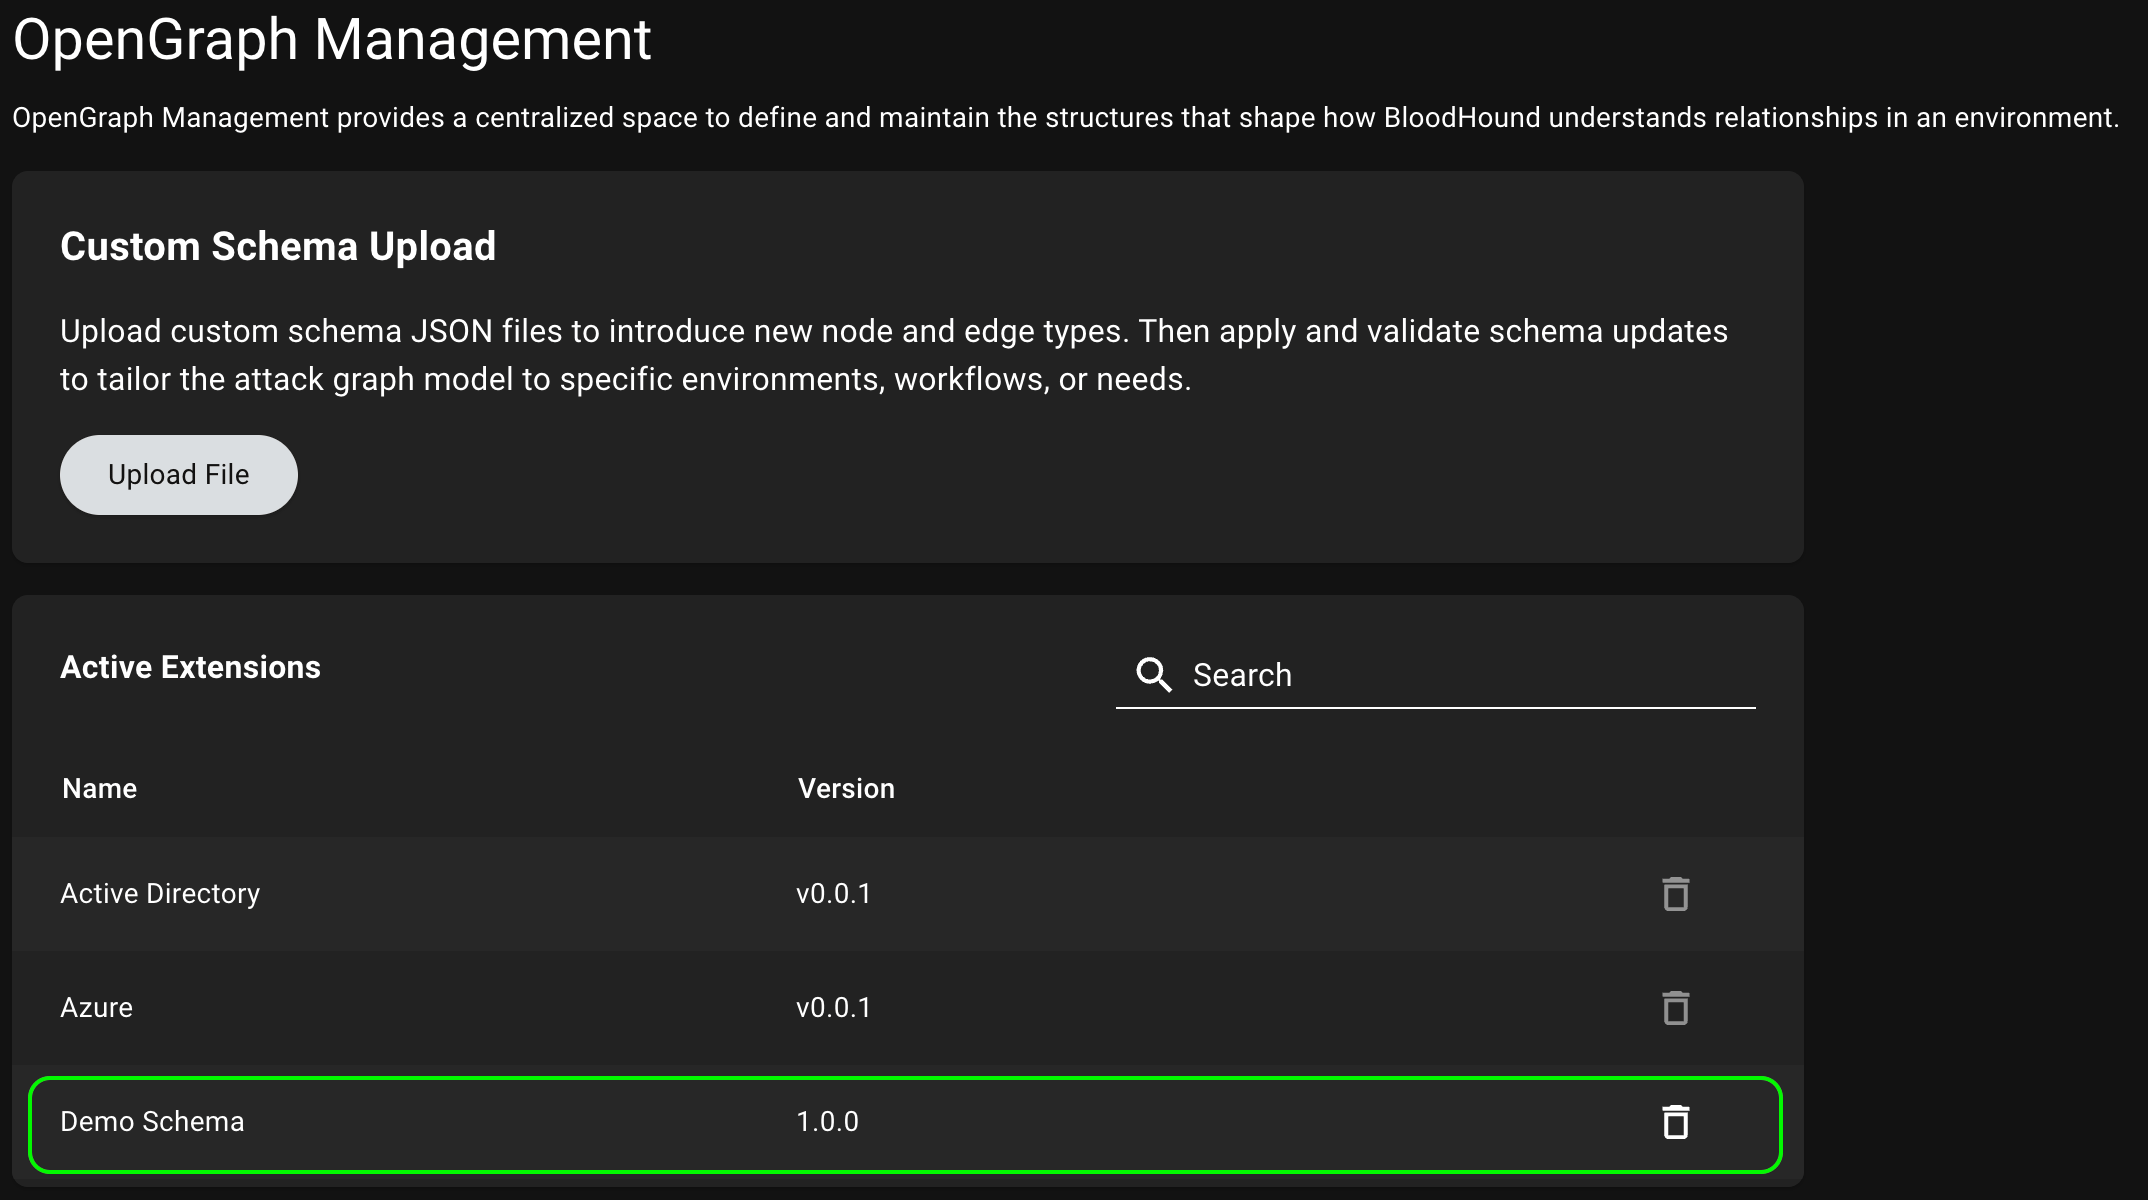
You may need to refresh the page to see the newly installed extension in the list of active extensions.
Update an extension
Collectors and extensions are versioned separately to allow for more flexible updates, but this requires coordination to maintain compatibility and support. Follow these guidelines for managing updates:- Do not update collectors independently without confirming extension definition schema compatibility.
- Update collectors and extension definition schemas together whenever possible.
- If you use SpecterOps-provided extensions or collectors, coordinate update cycles with your account team.
Delete an extension
Deleting an extension removes the extension definition schema from BloodHound, but leaves the underlying data intact. Associated data reverts to generic graphs—structured graph capabilities are no longer available—but you can still use node search and Cypher queries on the Explore page to explore the data. If you want to delete the data associated with an extension, you can do so separately on the Database Management page. To delete an extension, click the (trash) icon next to it in the list of active extensions and confirm the deletion in the prompt.You cannot delete built-in extensions that come with BloodHound, but you can delete custom extensions that you have installed.
Upload data
After an Administrator installs an extension, users can upload data payloads that conform to the extension definition schema and take advantage of structured graph capabilities in BloodHound. For extensions that use OpenHound collectors (GitHub, Jamf, and Okta), AzureHound, or SharpHound, how data is uploaded depends on your BloodHound edition:- BloodHound Enterprise: The collector client can upload data directly through the API. In containerized deployments, upload is typically automatic.
-
BloodHound Community: After running the OpenHound, AzureHound, or SharpHound collector executables locally and generating data files, follow the manual upload steps below.
For extensions that do not use OpenHound collectors, follow the manual upload steps below.
1
Upload data
Upload a data payload that conforms to the installed extension definition schema.
- In the left menu, click Quick Upload.
- Click the Upload File canvas to open a file system dialog or drag and drop the data payload file(s) onto the canvas.
- Click Upload to begin the data ingestion and validation process.
2
Explore and analyze
Use the enhanced features enabled by the extension to explore and analyze your OpenGraph data in BloodHound.